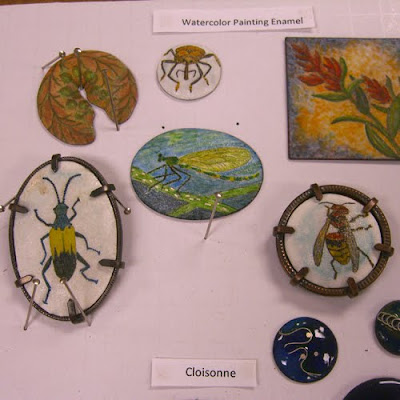
My head is full of ideas now that I've spent a week exploring a variety of painting and drawing with enamels. Charity Hall is an incredibly gifted artist who originally trained as a botanist and is married to an entomologist (hence her many bugs). There were many scientists in class; perhaps we just naturally gravitate toward enamels?
 |
| Some of the huge number of Charity Hall's enamel samples. |
I think the class should be renamed to "Enamels for the Intimidated" or something equally encouraging, since I fear the class title frightened the more artistically challenged. Our class of seven was just over half full, a shame as Charity was a terrific teacher and the material was not inherently difficult. Yes, to draw or paint realistically requires previous training, but most of the techniques had easy and effective applications not requiring so much skill. Everyone in our class loved Charity's shortcuts, developed out of her experimental nature to see what happens if she goes against traditional wisdom. For example, cleaning metal is not really necessary for opaque enamels, although it does matter for transparents.
 |
| CW from upper left: sugar coat, transparent green over P3 brushed over chasing, overfired liquid 969, sugar over P3 and tracing black applied with pen, clear over P3 brushed over chasing, green enamel onto ink stamp on white base coat |
The first day was spent making basic samples: sugar, orange peel, and glossy surfaces. We also experimented with simple surface design techniques -- enamel stamping, metal chasing, under and over firing, using black enamel with a pen or brush.
 |
| Graphite pencil over enamel base coat. |
On the second day we learned to solder on sterling tubes for mounting stones and to prepare liquid enamels. One of the simplest techniques we learned involved drawing with a regular pencil onto a stoned enamel surface. The carbon from the pencil lead is absorbed by the enamel and leaves a permanent, if faded, image.
 |
| CW from upper left: enamel over Micron pen, sugar clear over underglaze pencils, glass painting watercolors, metal watercolors, underglaze pencils, clear over P3 by pen |
Next we coated substrates with the liquid enamel for sgraffito and learned to use watercolor enamels in decidedly un-watercolor fashion. Then we mastered using the flex shaft and burs to cut the mountings for the tiny stones.
 |
Sgraffito samples
upper left overfired, center left too thick
upper and lower left with tube mount CZs |
For the next to last day, we experimented with glow powder for pieces to be viewed in the dark, fusing silver balls and wire into enamel, drawing with a pen, and underglaze pencils. Finally, there were demos of constructing various simple mountings for enamels, champleve and cloisonne.
 |
CW from upper left: watercolor over sgraffito, sugar clear over watercolor, base + watercolor + pen + clear,
overfired base + watercolor + pen + clear, base + underglaze pencil + graphite pencil + watercolor + sugar clear,
base + underglaze pencil + graphite pencil + watercolor + sugar clear |
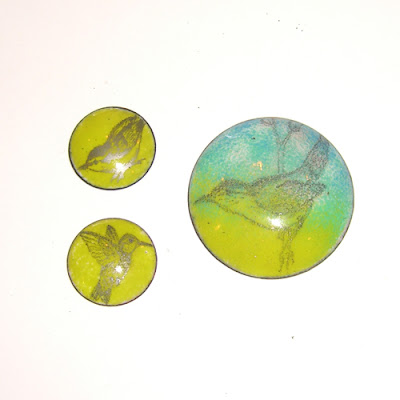
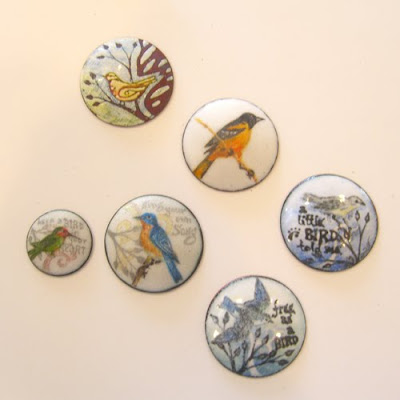
I got side-tracked with the painting, which offered the possibility to finally build surfaces in enamel that follow the procedures I use on my bird journal pages. Once I started experimenting with layering the different media, I stopped making single technique samples and started building more detailed trials. Enamels are fussy, requiring close attention in the kiln, and even then I unfortunately overfired several of my favorite samples. I experienced the crackle patterns of transparents over opaques, the ever present burn out of some colors, and loss of detail from a final clear sugar coat. My favorites, of course, look faded and blurred compared to before they headed into the kiln.
I came home with a long list of items to order so that I can continue my experiments and a desire to clean up my studio so that I have a good layout for this work.


