Last week I took Advanced Casting, Wax & Mold Making at Jewelry Studies International. I feel it's important that I really understand the process of production as I consider whether to have some of my more popular jewelry items produced.
 |
| lathe turned wax bezel and ring, with added wax leaves |
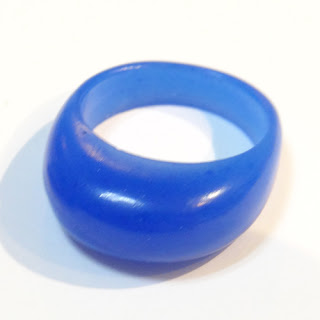 |
| carved wax dome ring |
We jumped right into wax carving, which I explored in depth in January with
my workshop with master wax carver, Kate Wolf. I made three different rings. First, we made a hand-carved dome ring (very 70s) to learn layout for good symmetry. Then we carved a tapered shank and added a dipped bezel, shown in the tree image below. Finally, we used the flex shaft as a lathe to turn both a ring and a bezel, shown above. I enjoyed adding my molded leaves on either side of the bezels.
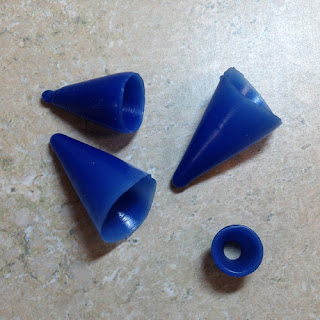 |
| dipped wax bezels |
I was captivated by the ease of making wax bezels by dipping the punch from a bezel forming set (round, oval, square or triangle) into a cup of warm wax, then cutting and filing. Much easier than fabricating such a tapered bezel!
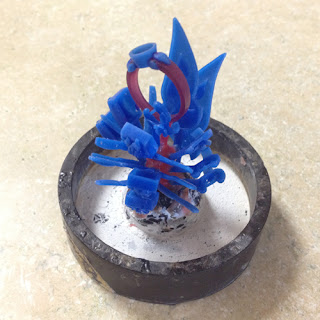 |
| wax tree ready to invest |
Building a tree by spruing wax molds is tedious but simple. The hardest part is never touching the hot wax pen to an already attached wax.
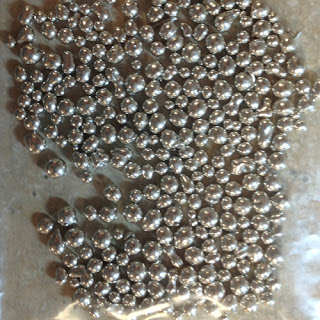 |
| Argentium casting grain |
After determining the amount of metal needed, we mixed, poured, and vacuumed the investments, then popped them into the kiln overnight to melt out the waxes. Class materials included enough casting grain for one tree, but I produced four over the course of the week. So I split my casting grain between the first two and used scrap to make up the balance. For the final two castings, I used all scrap, and couldn't tell the difference in any way. All cast beautifully.
 |
| casting tree washed, pickled & tumbled, ready to saw |
Argentium is amazing in that it requires no flux during casting, and comes out completely free of firescale. It darkens during the water gun cleanup to remove investment, but vinegar and salt pickle returns it to its white beauty. A quick run through the magnetic tumbler and it looks gorgeous. SO easy! Then comes the painful sawing and filing to clean up each tiny piece.
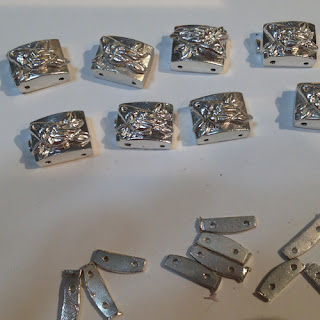 |
| bird decorated box links and connectors, filing needed |
 |
| carved links with flowers and leaves, filing needed |
I made a collection of box links and the carved horseshoe shaped links although maybe still not enough for a full bracelet in either case. These were the fabrication projects from the
previous class.
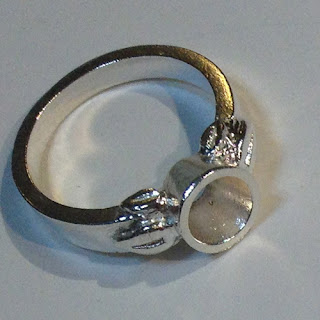 |
| tapered shank and bezel ring, with added leaves |
This is the tapered ring, ready to cut a seat for a stone.
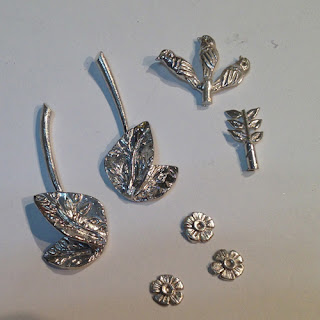 |
| components |
I took the opportunity to experiment with making a variety of components to use in my work: birds, leaves, flowers. The earrings on the left are molded from my sterling clay earrings, with the asymmetric bezels (shrinkage issues) cut off, so I can add perfect tubing bezels.
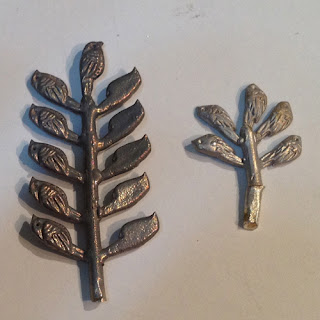 |
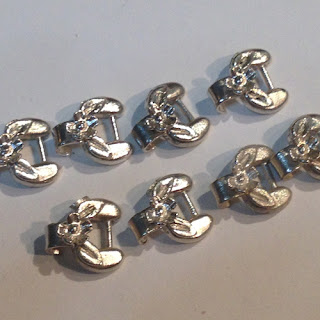
| bird component models |
Finally, I molded sets of my birds to cast them in multiples. Now I have to digest the material from class and decide how to incorporate the new knowledge into my own work.


