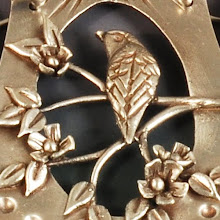
A few weeks ago, I wrote about my design process for a custom ring. That post detailed how I start with an idea, develop the drawings, and convert them to texture plates. Finally, I'm happy to report that the design has been reduced to metal.
 |
| Canary Ring sterling silver ©2013 Vickie Hallmark |
 |
| Canary Ring, back sterling silver ©2013 Vickie Hallmark |
The Argentium band was secured to the unfired clay form via extra clay, including my usual small oval hallmark with my swallow, initial logo, and .925 quality mark. Then the entire ring underwent the two stage firing process required for sterling clay. First, the ring was supported in vermiculite while slowly heating to 1000ºF and holding for thirty minutes to burn out the organic binders that glue the tiny metal particles together in the raw clay. During this stage, the Argentium darkened somewhat, but didn't develop fire scale like regular sterling would. Then the ring was buried in carbon and refired at 1500ºF for two hours to allow the metal particles to move to compact and sinter the metal into a solid piece of sterling silver. After cooling, the entire ring had a very slight golden color to it, which was quickly polished away.
 |
| Canary Ring sterling silver ©2013 Vickie Hallmark |
I think this is my new favorite ring!!


