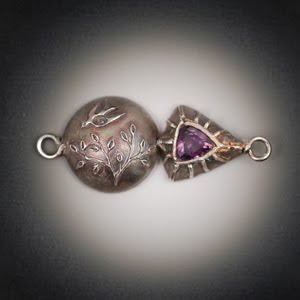
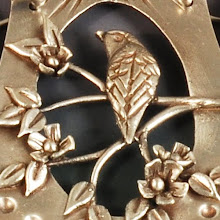
There were two main themes in my ideas for variations on metal clay keyhole clasps: shape and decoration, both stones and metal.
This is the clasp from the tutorial: triangular hollow clasp with a sapphire bezel-set cabochon insert.
I've experimented with using different molds, including a standard doming mold, to form the pieces. There are problems when working with these standard shapes, as the height of the hollow is very shallow near the edge where the ball insert must rest when the clasp is closed. A handmade polymer clay mold designed with a high wall on that edge is much easier in the long run. 
My drawer full of colorful stones led me to explore ideas with setting faceted cubic circonia (CZ), which is a bit trickier than the simple bezel set cabochon on the tutorial clasp. Perseverance and patience are required to get the stone set in a pleasing manner (and even then getting it perfectly centered is almost impossible!). I have not been overly drawn to stones in the past, so I haven't developed my skill in this area to my personal requirements. More practice needed!
All I can say is I am becoming better friends with my syringe, to the point of doing the ring of leaves decoration surrounding the yellow CZ by syringe. Not too bad, unless you are clumsy and put your fat finger somewhere it doesn't belong. I hate to admit I repeatedly blundered. Years of stringer practice with glass has improved my ability to design and control the syringe work, which is all for naught when the whole piece is bobbled. Luckily I don't stick my fingers into hot glass, but that's probably because I can hold and turn a glass bead easily on its mandrel. It makes me wonder about solutions to holding the metal piece more securely, with my fingers further away from delicate wet clay.
Friday, February 12, 2010
Silver Clay Keyhole Clasp -- Three Variations
Labels:
Master Muses,
silver clay


