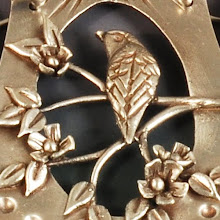
I finally secured the right copier on e-bay to do tear-away texture sheets. Then I ordered paper. Finally this week, I've been able to give it a try. After a few poor tests, I've finally got the hang of it, I think. For all the tests I used some Dover clipart books (with CD) to make it a relatively painless process.
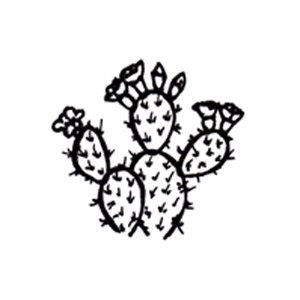
After trying a few of those on silver clay last night, I found myself wanting my own drawings. Out came the paper and pens to draw some. The prickly pear cactus tear away sheets didn't give the look I wanted, so I decided they just needed to be more pronounced, as with photopolymer plates.
 Unfortunately, that wasn't really the issue. The problem was that I hadn't thoroughly thought through how to draw what I wanted to appear. Making either the PPP or the tear-away is one of those weird reverse processes. For tear-aways, both positive and negative are produced at the same time. The black ink on the paper will attach polymer clay, which after baking will leave a depression in the metal clay. The polymer clay left behind can be used as a plate to make a raised image. For photopolymer plates (PPP), what I draw in black on the paper will be protected from the sun, so wash away. That depression will be filled with clay, so it will be raised in the final product. It's enough to make my head spin!
After trying a few, I figured out that my real problem was the outline drawings I made. My first PPPs were beginner's luck, because I used filled drawings without thinking it through. Now I needed to run back upstairs to get the lightbox out and fill in my outline drawings and thicken up lines to get better plates.
 Now I'm ready to make more plates, more tear-aways, and try the clay again! Sheesh, most of the weekend is gone and I don't have what I wanted done!!!!
Sunday, September 14, 2008
Artwork for Metal Clay
Labels:
metal clay


