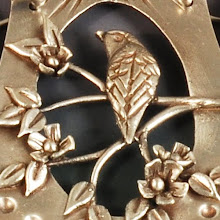
I'm working on a custom order for some bird themed jewelry. I love working with customers to make their jewelry personal and one-of-a-kind. I'm waiting on feedback for the drawing shown here.
Since I've had some inquiries about how I convert my original drawings into texture plates, I thought I'd detail the process as I work it through here.
First I started with a request for two canaries. I did a Google image search and settled on this photograph as a basis for my design.
 |
| three red(!) canaries |
Working freehand, I did a rough sketch of the rightmost two birds, but tracing would be an easier option.
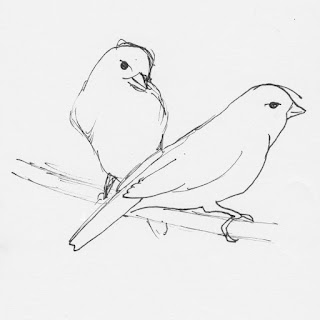 |
| sketch of two canaries |
This sketch was then reduced on the copier to fit inside a roughly two inch diameter circle to work on the fill pattern and background.
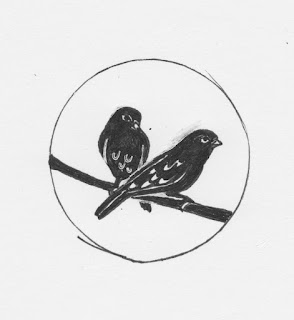 |
| canaries filled with pattern |
Once I had a fill pattern that felt acceptable, I made multiple copies and tried different patterns for the background, finally settling on this one with the canary names.
 |
| background for canaries |
The rough design was then scanned into the computer and cleaned up in Photoshop, changing everything to nice crisp black and white and removing the rough circle where I traced around a roll of tape.
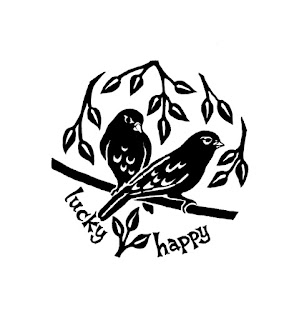 |
| circle removed from canary sketch |
Then I copied out the circular area and set it into a dark background for the final design.
 |
| final canary texture |
Once modified and finally approved, I'll invert the black/white to get the high/low right for the final texture plate.


